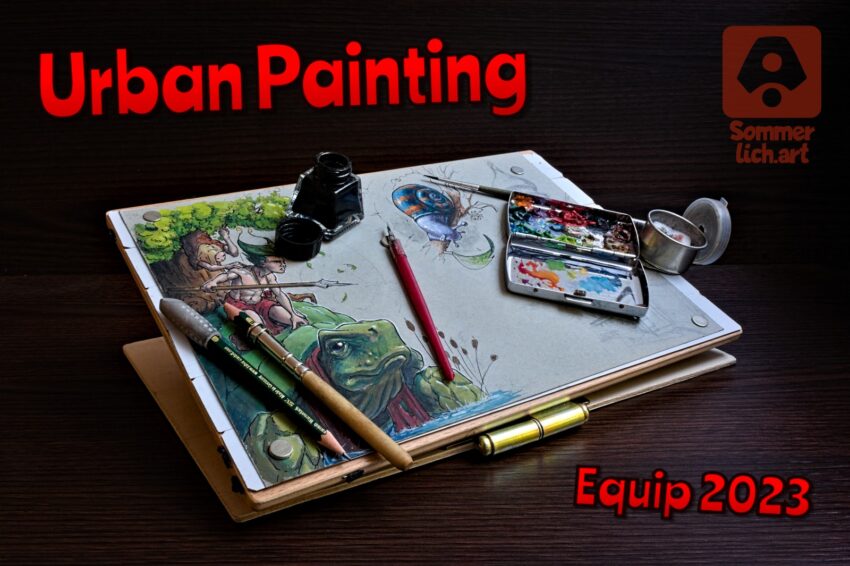
Some of you will know that I draw and paint many of my pictures on the train. I find it important here to be able to use all my drawing and painting utensils on the train and not to have to limit myself to certain techniques. To have everything quickly and safely at hand, I have now tinkered a bit and the result is now my "ultimate urban painting equipment". In this article I'll show you the features, the benefits and even how you can build it yourself.
Previous mobile painting equipment
I presented my equipment so far in 2020 on Peertube (link to the Video ↗. However, at that time I had no mixing palette for the colors and also no holder for my inkwells. Furthermore, I could only attach the system with the clamp to bound sketch pads. Unfortunately, these pads often have only very thin paper. However, since I also wanted to paint larger gouache pictures, I needed stronger sheet paper. So in order to be able to draw and paint on thick single sheets of paper on the go, the new solution should also include a drawing board.
Presentation of the new Urban Painting Equipment
So now enough of words, so what does the new Urban Painting Equipment now look like? Tadaa!
The main functions at a glance

I use eraser caps and pencil holders for my pens. Here I can easily put small magnets that hold the pens in place. No more annoying rolling down.

You can also fix inkwells with small flat magnets. Here I used adhesive tape to attach a couple of flat magnets to the bottom of the inkwell, and they hold surprisingly well.
So I can work with pen and ink on the go.
Still important: Always keep the inkwell closed when you draw! You never know when you are jostled on the train 😉.

My small gouache palette is also fixed with magnets on its bottom. You can also do this with glued magnets. But it is best if the case itself is already magnetic.

And last but not least, the angle adjustment. This makes working on the lap or on the table immensely easier, especially when you don't know how and where you'll be sitting outside.
Urban Painting Equipment Replica Guide
Short note at the beginning: I am completely untalented in craftsmanship. These instructions are meant to give you a rough overview of which components I connected and how, but you can certainly do that better and more professionally than I can 🤣. Nevertheless, my provision works amazingly well.
List of materials
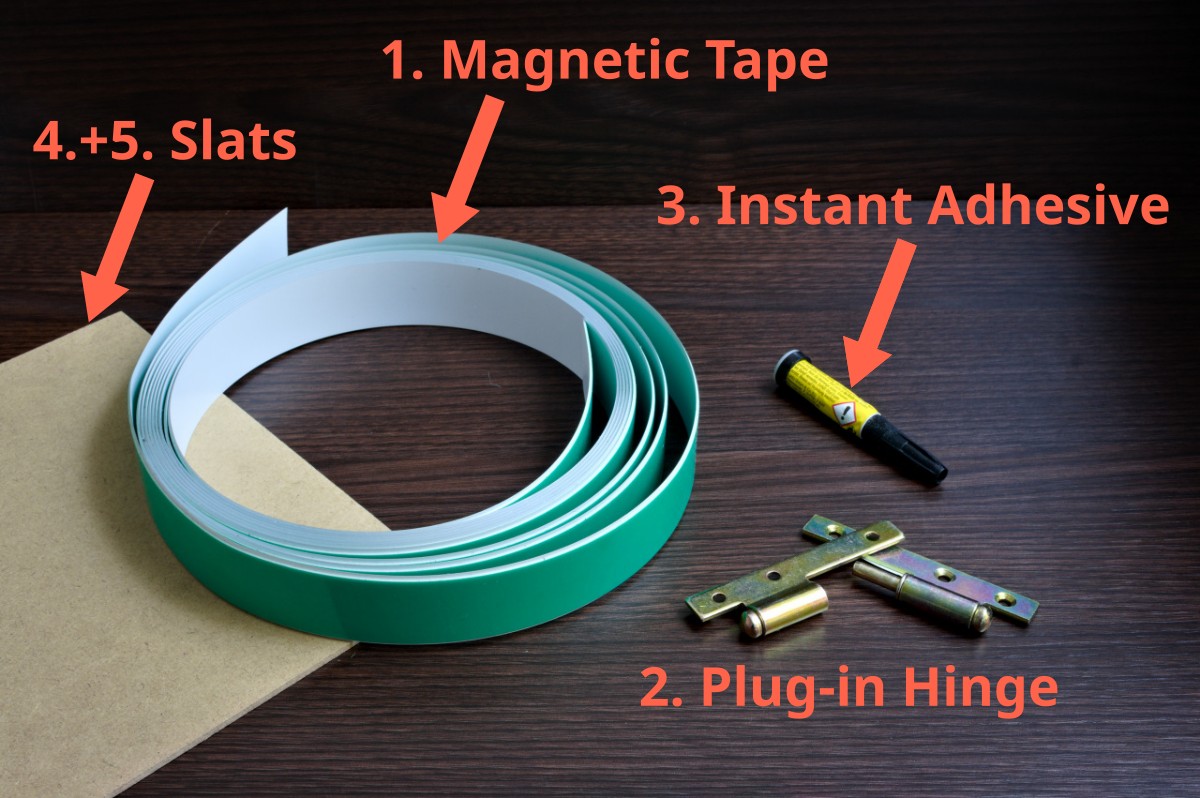
- 3m magnetic tape
- 1x Plug-in Hinge
- 1x Superglue (be careful, you better use also gloves for this)
- 1x Slat, Thickness about 4mm, A4 Size
- 1x Slat, Thickness about 8mm, A4 Size (maybe from a clipboard)
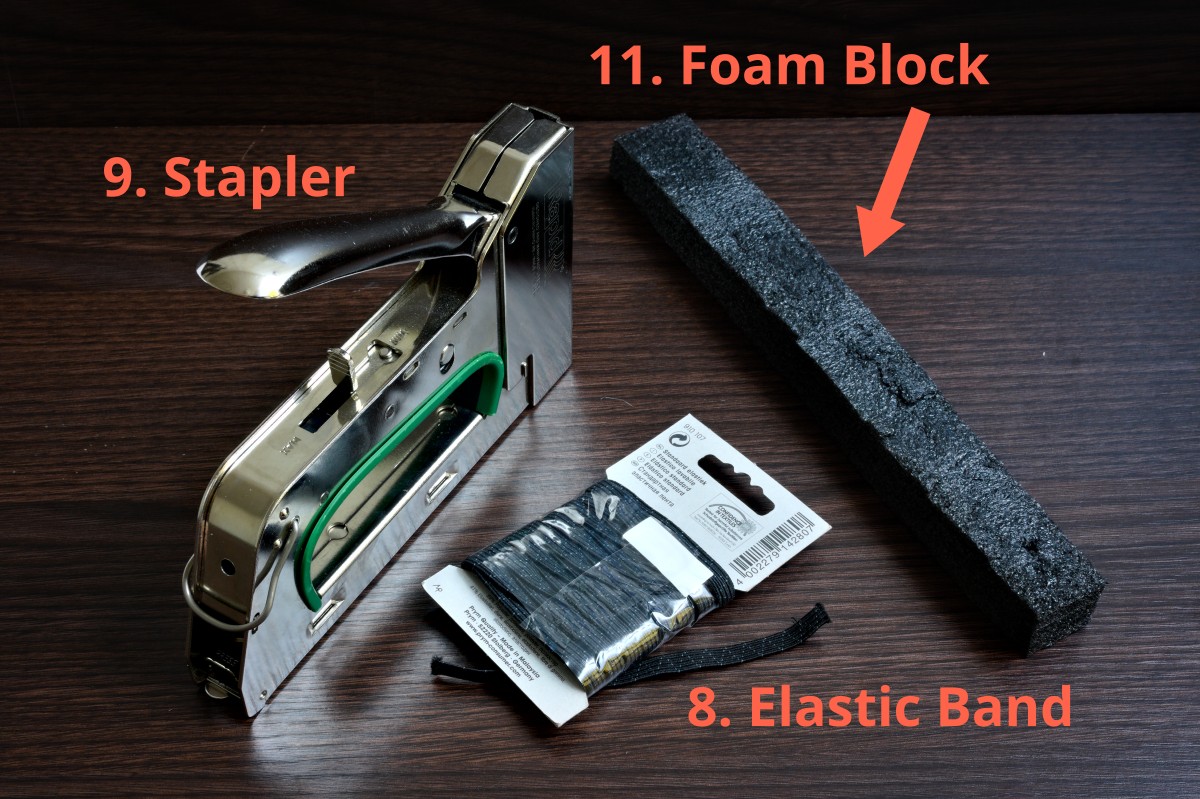
- 3m Elastic Band with 5mm width (from sewing supplies)
- 1x Stapler with appropriate staples
- 1x Foam Block ca. 25x5x5 cm.
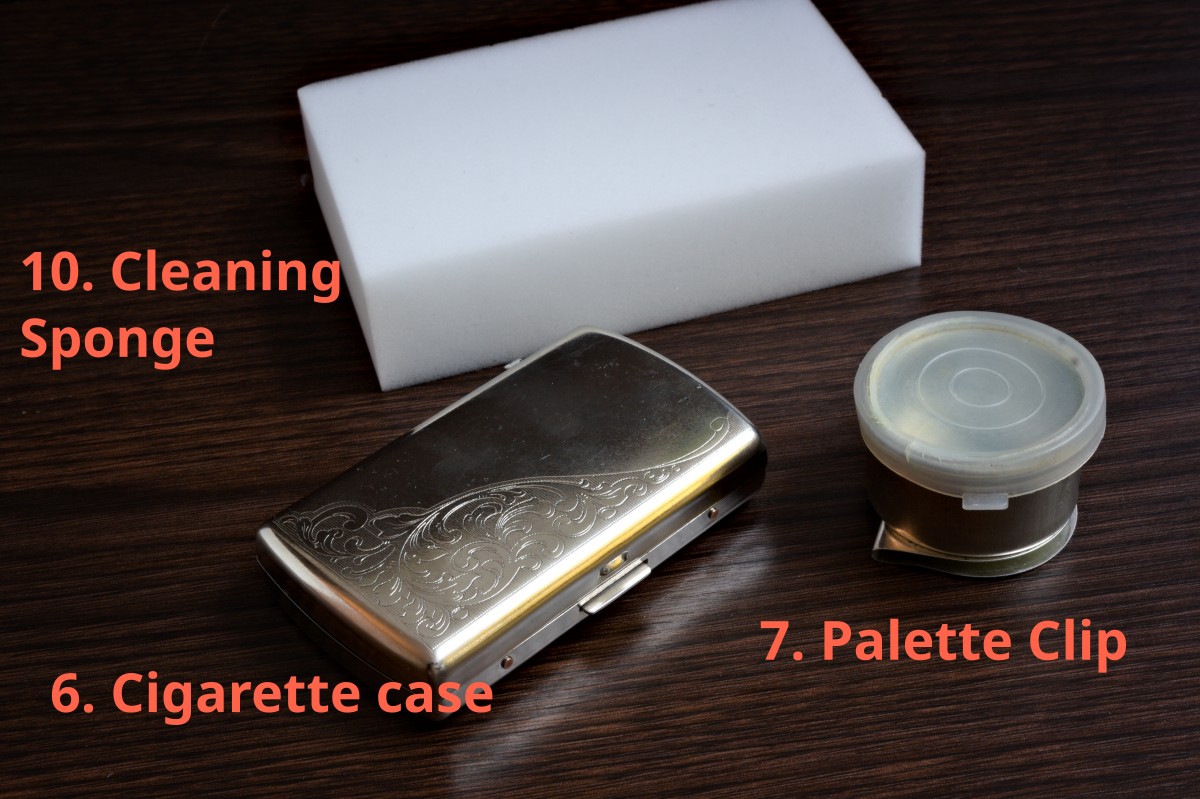
- 1x Cigarette Case
- 1x Palette Clip
- 1x Cleaning Sponge or other Melanin Sponge
Build-up steps
Drawing board
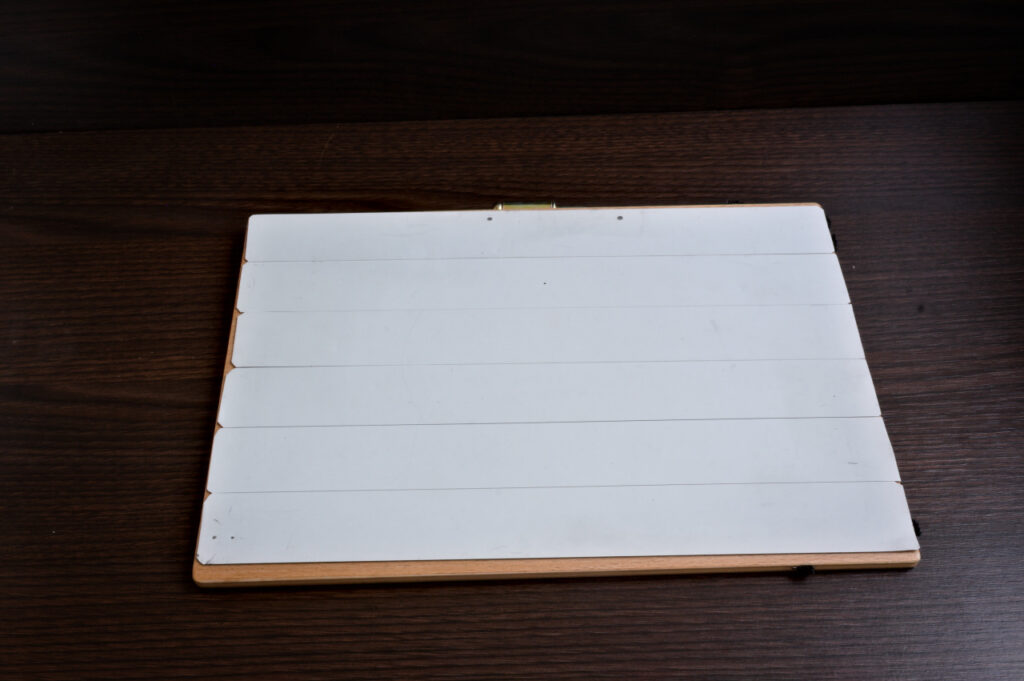
First, apply the magnetic tape to the front side of the thicker board. Make sure that the magnetic tapes are placed very close to each other, without any gaps, but also not overlapping, in order to avoid bumps.
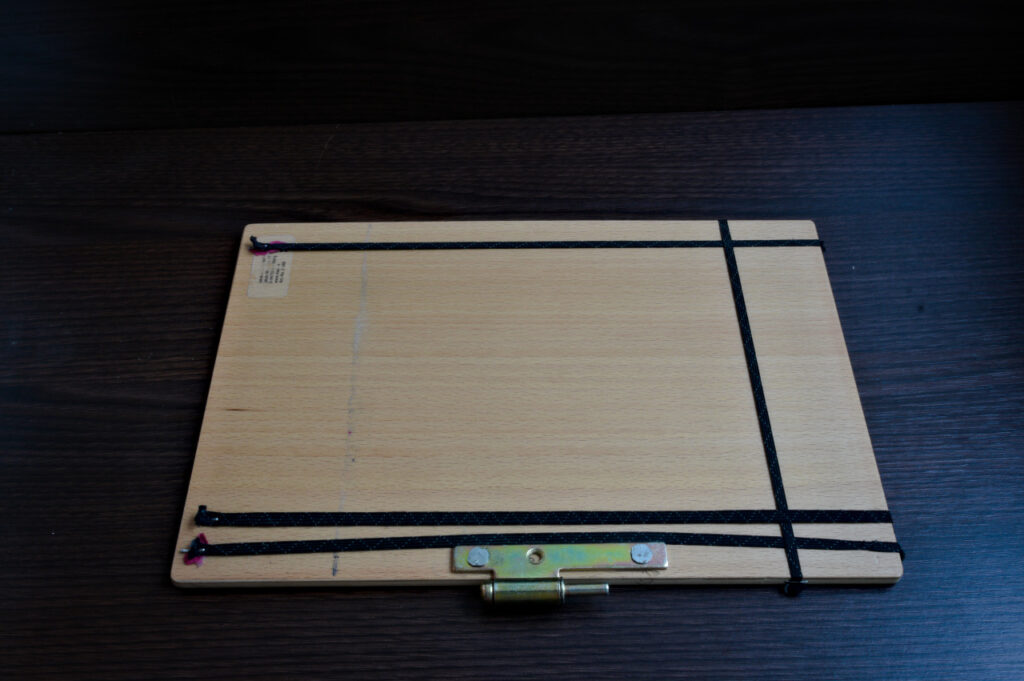
The next step is to staple the elastics bands to the bottom of the thick board. These will serve as holders for my paper. I added a second elastic band at the bottom to hold the front board when it is closed.
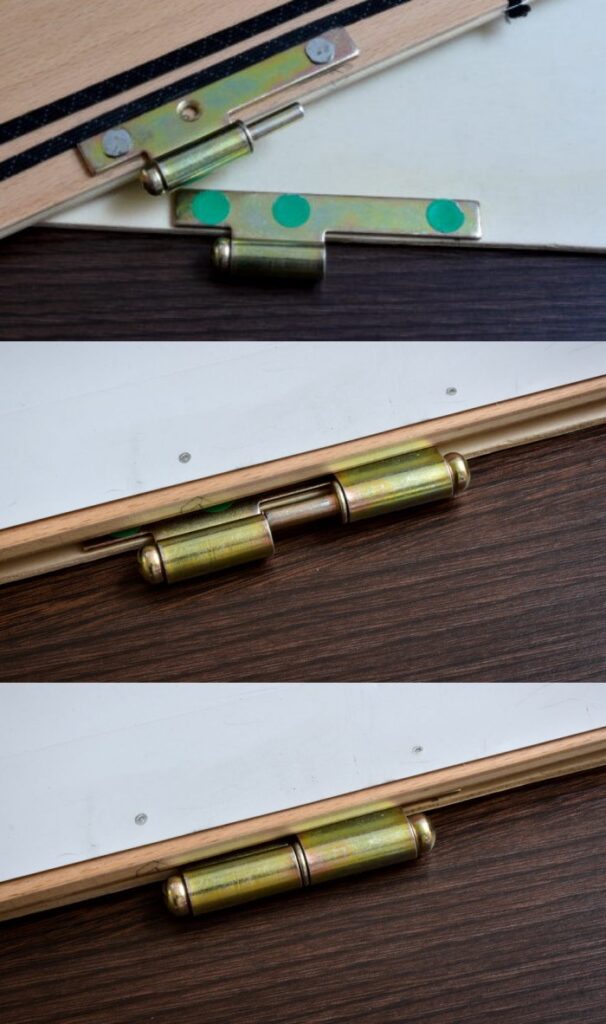
I glue the hinges to the edges of the boards with super glue. Here you have to pay attention to the orientation of the hinge parts, so that they fit together (see picture).
You can also use nails or something else if you want, but the superglue has held up very well until now.
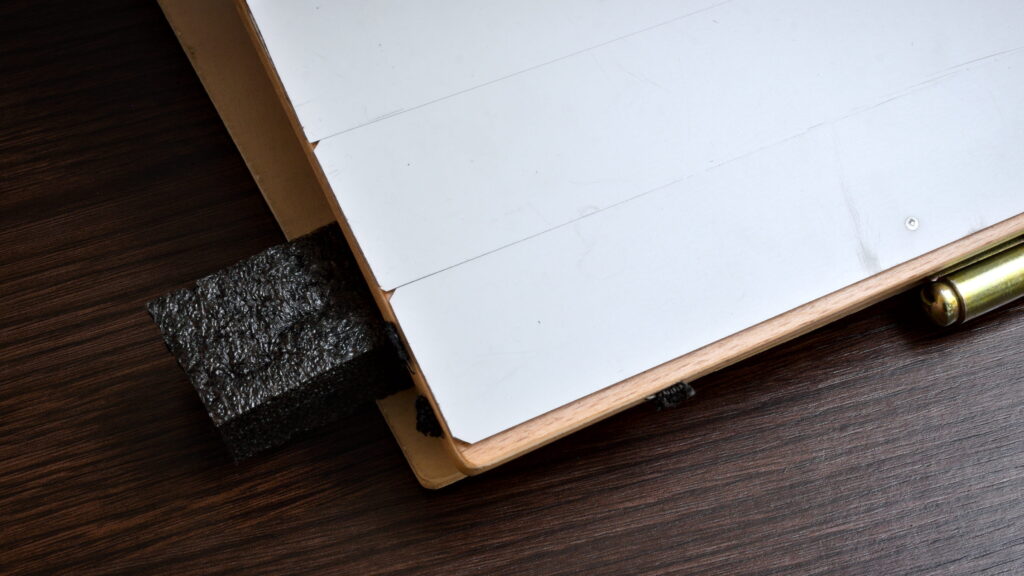
Last but not least, the foam block to make the assembled drawing board stand up at an angle.
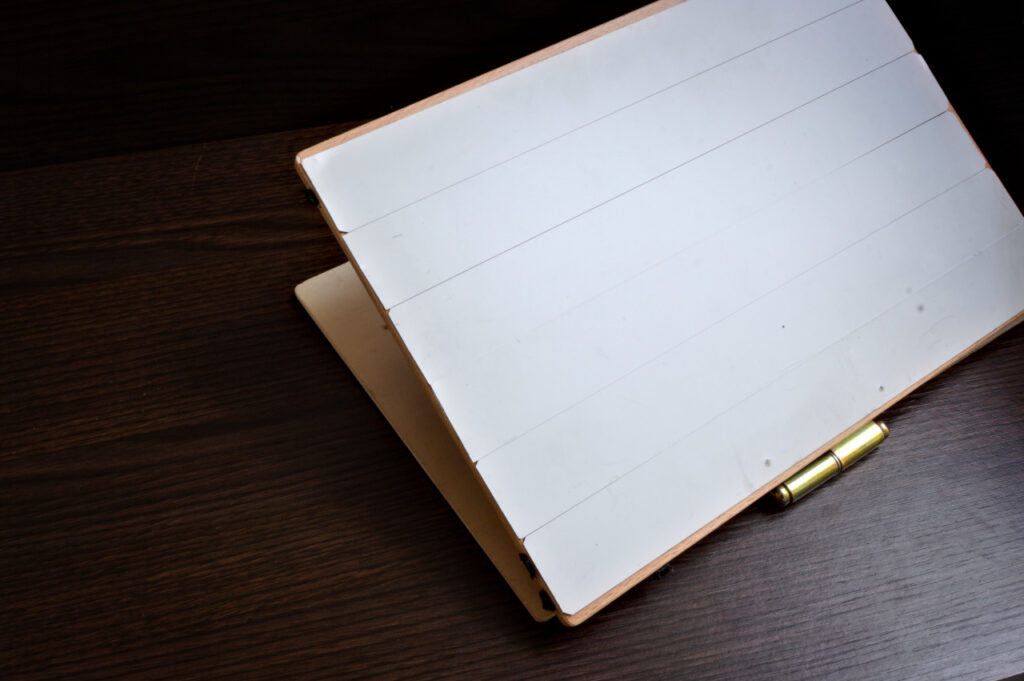
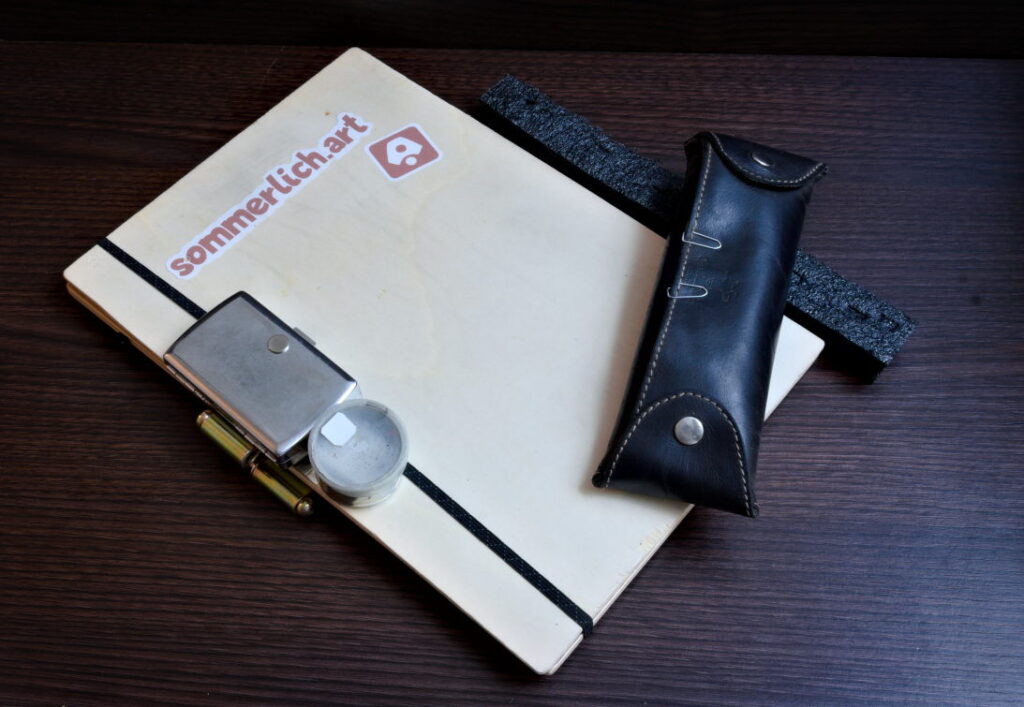
The end result is two boards connected with a hinge, one of which is magnetic. Since a plug-in hinge is used, it is easy to take both boards apart and place the lower board on top of the upper board. This keeps the drawing protected. Of course, you can still decorate the "front board" a bit with drawings or stickers.
Painting palette
So far we have assembled the drawing board, but now let's turn to the gouache palette.
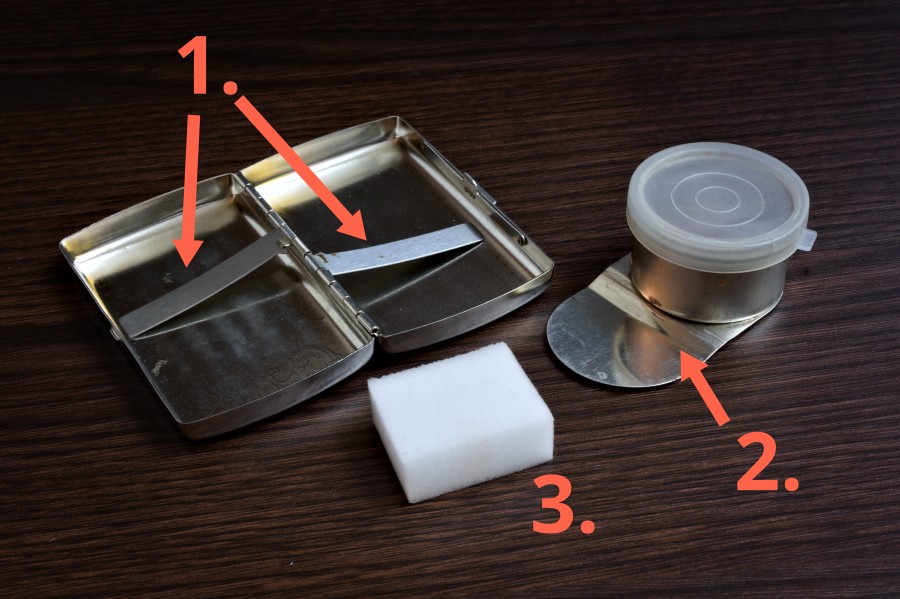
- Cigarette cases often have these little metal arms inside to hold the cigarettes. Since we don't need them, I bent it out with pliers.
- The pallet clip must be bent open to provide a large mounting surface on the cigarette case.
- Cut the cleaning sponge to the size of the pallet clip.
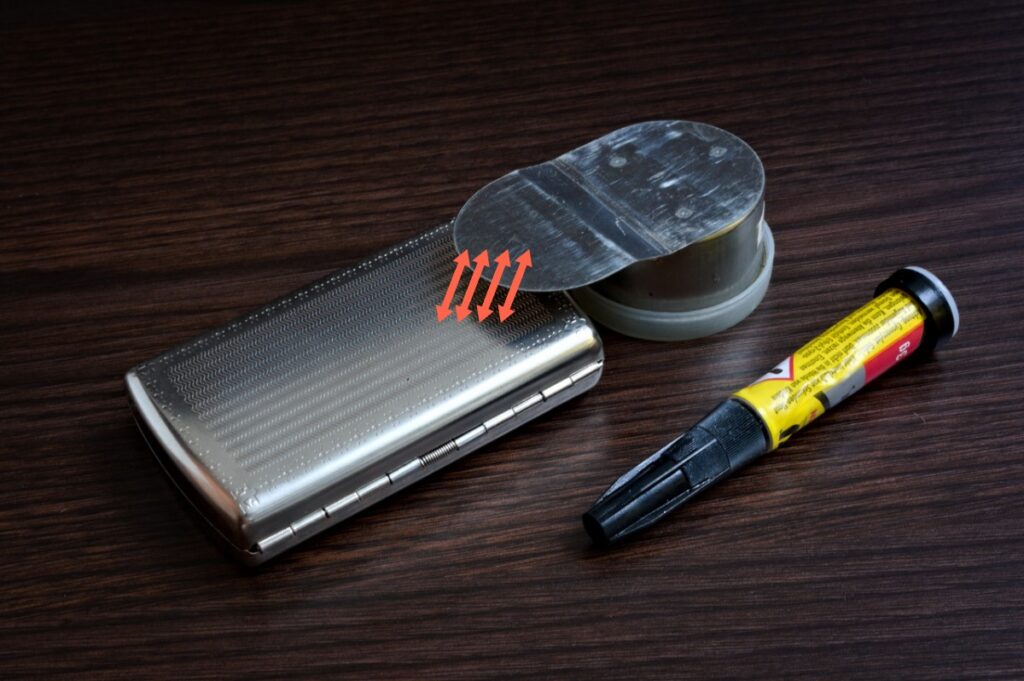
Glue the bent area of the pallet plug to the back of the case with super glue.
Now you can put the colors into one half of the case. With gouache, you just press a little bit of color on a certain spot and let it dry. I use the little sponge in the palette clip as a water storage and to wipe the brush clean. The free half of the case is used for mixing the colors.
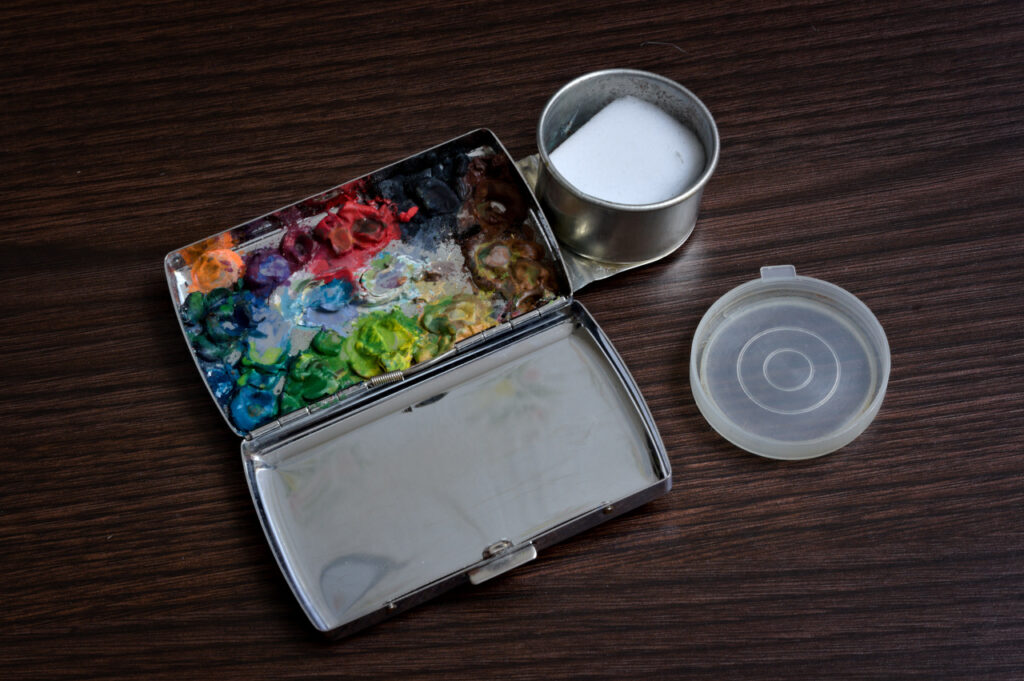
Last but not least, I added flat magnets to the bottom to fix the palette on the drawing board.
I hope I could give you an interesting insight into my urban painting equipment and you were inspired for making your own equipment. If you have any questions or suggestions, just contact me on Mastodon or leave a comment to this post.
